原文链接:http://www.juzicode.com/python-module-remi
Remi 是一个基于 Web 技术的 Python GUI 开发框架,允许开发者使用纯 Python 代码构建跨平台的桌面和 Web 应用程序。其核心特点是通过浏览器渲染界面,支持响应式布局和实时更新,适用于物联网控制面板、数据监控系统等场景。
应用场景
- 嵌入式系统可视化界面
- 跨平台桌面应用程序
- 工业设备远程控制面板
- 实时数据监控仪表盘
- 教育领域可视化教学工具
安装方法
pip install remi
import remi
使用方法
1. 创建基础窗口
构建最简单的 Remi 应用框架,继承App类创建应用实例,在main方法中创建container容器,然后用生成label实例,并append到container中,开启窗口则用start()方法。
# juzicode.com/VX公众号:juzicode
from remi import App, gui, start

class MyApp(App):
    def main(self):
        container = gui.VBox(width=500, height=350)
        self.lbl = gui.Label('桔子code,你好, 欢迎使用 Remi!')
        container.append(self.lbl)
        return container

if __name__ == "__main__":
    start(MyApp, address='127.0.0.1',port=8080)
运行结果:
在浏览器访问 http://localhost:8080 显示带标签的空白窗口
2. 添加交互按钮
通过事件绑定实现交互逻辑,on_button_pressed演示事件响应机制,更新标签内容。
# juzicode.com/VX公众号:juzicode
from remi import App, gui, start

class ButtonApp(App):
    def main(self):
        # container = gui.VBox(width=300, height=200)  #
        container = gui.VBox() # 不限定窗口大小,则跟随浏览器
        self.lbl = gui.Label('点击次数: 0')
        btn = gui.Button('点击我   @VX公众号:juzicode', width=200, height=30)
        btn.onclick.connect(self.on_button_pressed)
        container.append(btn)
        container.append(self.lbl)
        return container

    def on_button_pressed(self, widget):
        current = int(self.lbl.get_text().split(': ')[1])
        self.lbl.set_text(f'点击次数: {current + 1}')

if __name__ == "__main__":
    start(ButtonApp, address='127.0.0.1',port=8080)
运行结果:
显示可点击按钮,每次点击数字递增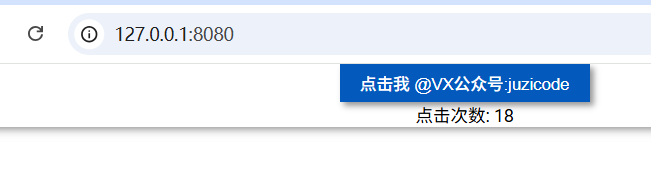
3. 表单输入处理
使用TextInput组件获取用户输入,onconfirm 事件处理表单提交。
# juzicode.com/VX公众号:juzicode
from remi import App, gui, start

class FormApp(App):
    def main(self):
        container = gui.VBox()
        self.input = gui.TextInput(width=200)
        submit_btn = gui.Button('提交', width=100)
        submit_btn.onclick.connect(self.on_submit)
        self.output = gui.Label('')

        container.append(gui.Label('输入内容:'))
        container.append(self.input)
        container.append(submit_btn)
        container.append(self.output)
        return container

    def on_submit(self, widget):
        text = self.input.get_value()
        self.output.set_text(f"您输入了: {text}")


if __name__ == "__main__":
    start(FormApp, address='127.0.0.1',port=8080)
运行结果:
显示文本输入框和提交按钮,提交后显示输入内容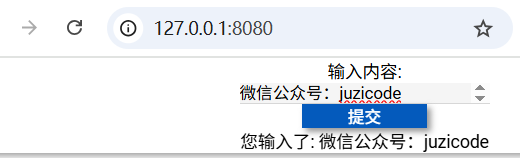
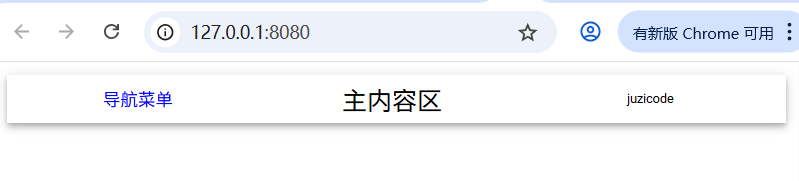
4. 动态布局管理
使用HBox VBox实现响应式布局,style属性自定义 CSS 样式。
# juzicode.com/VX公众号:juzicode
from remi import App, gui, start

class LayoutApp(App):
    def main(self):
        # 创建横向布局容器
        hbox = gui.HBox(style={'margin': '10px', 'padding': '5px'})

        # 左侧垂直布局
        left_col = gui.VBox(width=200)
        left_col.append(gui.Label('导航菜单', style={'color': 'blue'}))

        # 右侧内容区域
        right_col = gui.VBox(style={'flex': '1'})
        right_col.append(gui.Label('主内容区', style={'font-size': '20px'}))

        right_col2 = gui.VBox(style={'flex': '1'})
        right_col2.append(gui.Label('juzicode', style={'font-size': '10px'}))
        hbox.append(left_col)
        hbox.append(right_col)
        hbox.append(right_col2)

        return hbox

if __name__ == "__main__":
    start(LayoutApp, address='127.0.0.1',port=8080)
运行结果:
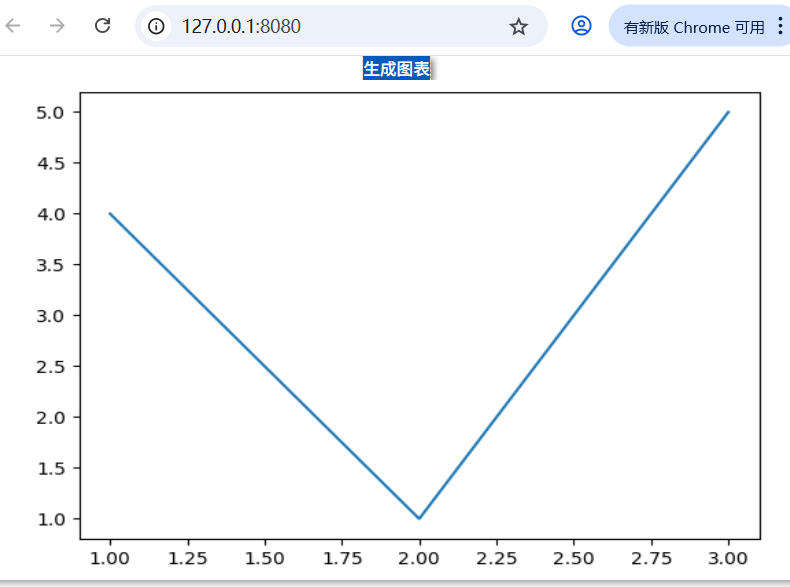
5. 图表数据可视化
集成 Matplotlib 显示动态图表,通过Image组件展示生成的图片。
# juzicode.com/VX公众号:juzicode
from remi import App, gui, start
import matplotlib
matplotlib.use('Agg')  # 设置在导入pyplot前
import matplotlib.pyplot as plt
import io
import base64  # 导入base64模块

class ChartApp(App):
    def main(self):
        container = gui.VBox()
        self.img = gui.Image(width=600, height=400)
        btn = gui.Button('生成图表')
        btn.onclick.connect(self.update_chart)
        container.append(btn)
        container.append(self.img)
        return container

    def update_chart(self, widget):
        # 生成Matplotlib图表
        plt.close('all')  # 避免内存泄漏
        fig, ax = plt.subplots()
        ax.plot([1,2,3], [4,1,5])
        buf = io.BytesIO()
        plt.savefig(buf, format='png', bbox_inches='tight')
        buf.seek(0)
        # 使用base64编码图像数据
        img_data = base64.b64encode(buf.read()).decode('utf-8')
        self.img.set_image(f'data:image/png;base64,{img_data}')

if __name__ == "__main__":
    start(ChartApp, address='127.0.0.1', port=8080)
运行结果:
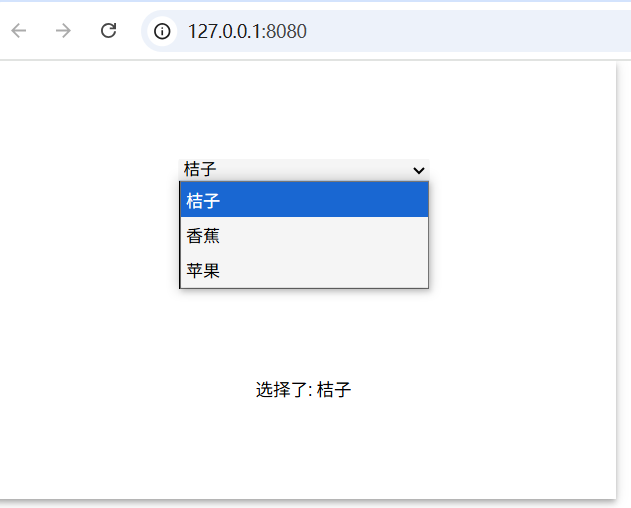
6. 下拉菜单
通过DropDown实现下拉菜单的选择。
# juzicode.com/VX公众号:juzicode
from remi import App, gui, start

class DropdownApp(App):
    def main(self):
        container = gui.VBox(width=500, height=350)
        self.dropdown = gui.DropDown(width=200)
        options = ['桔子', '香蕉', '苹果']
        for opt in options:
            self.dropdown.append(gui.DropDownItem(opt))

        self.result = gui.Label()
        self.dropdown.onchange.connect(self.select_item)
        container.append([self.dropdown, self.result])
        return container

    def select_item(self, widget, value):
        self.result.set_text(f"选择了: {value}")

if __name__ == "__main__":
    start(DropdownApp, address='127.0.0.1', port=8080)
运行结果:
总结
Remi 核心优势:
- 纯 Python 开发 Web GUI
- 跨平台兼容性(Windows/Linux/macOS)
- 响应式布局支持
- 与 Python 生态无缝集成
- 内置 Web 服务器
注意事项:
- 复杂界面需合理管理组件树
- 大数据量场景注意性能优化
- 生产环境建议配合 Nginx 反向代理
- 移动端适配需要额外样式处理